
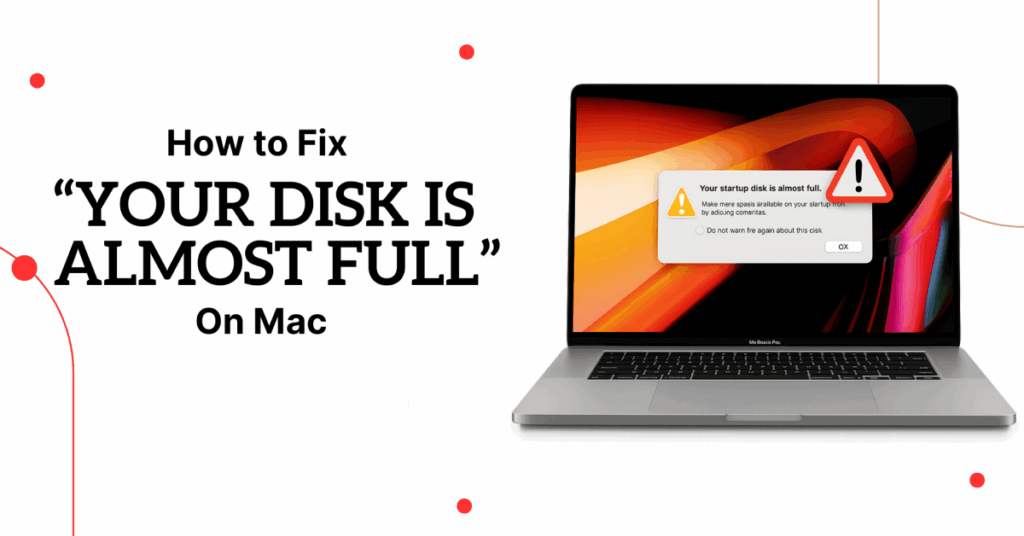
Seeing the dreaded “Your disk is almost full” alert on your Mac? This common issue can slow down your computer and make it harder to run essential apps smoothly. Fortunately, solving this problem is easier than you might think.
In this guide, we’ll walk you through simple, effective ways to free up space on your Mac, boost its performance, and prevent future storage headaches.
Why Your Mac Shows This Warning
When storage hits 90% capacity, macOS warns you because:
- ⚠️ System slowdowns occur as swap files struggle
- ⚠️ Updates fail (macOS, security patches, apps)
- ⚠️ Critical features like Time Machine stop working
Pro Tip: Keep 15-20% free space for optimal performance.
Step 1: Analyze Storage Usage
Click Apple logo () > About This Mac > Storage
Review the color-coded breakdown:
Step 2: Use Mac’s Built-in Storage Management
From the same ‘Storage’ tab, click ‘Manage’.
In the new window, explore tabs like:
If you find files you no longer need, select them, right-click, and choose ‘Delete’. This removes them instantly without sending them to Trash.
Step 3: Manually Clear Unused Files via Finder
For deeper cleanup:
Open Finder > Preferences.
Under the ‘Sidebar’ tab, make sure your Mac hard disk is checked to appear under ‘Locations’.
Go to Finder > Command + F to search by file size:
Right-click on unnecessary files and choose ‘Move to Trash’.
Don’t forget to Empty Trash to permanently free up the space.
Step 4: Clear System Cache Files
System caches can quietly build up over time, taking gigabytes of space.
Pro Tip: Clean your caches at least once a month for optimal system performance.
Final Tips to Keep Your Mac Storage Healthy
You’ll be given options to back up your recovery key:
✔️ Regularly empty Downloads and Trash
✔️ Uninstall unused apps
✔️ Use cloud storage (iCloud, Google Drive)
✔️ Backup large files to an external drive
Conclusion
Clearing out storage on your Mac isn’t complicated—it’s just about knowing where to look. By following these simple steps, you’ll not only reclaim precious disk space but also improve your Mac’s overall performance.
If you’re also looking for genuine Microsoft software at unbeatable prices, visit Indigo Software—links are in the description below.
Frequently Asked Questions (FAQs)
Q1. Is it safe to delete system caches on Mac?Yes, deleting cache files is safe and can free up disk space. macOS will rebuild necessary caches automatically. Avoid ~/Library/Caches/com.apple if unsure.
Q2. How often should I clear cache and storage?At least once a month is recommended for average users.
Q3. Will deleting files through Storage Management delete important system files?No, macOS only shows user-accessible files in Storage Management. Always double-check before deleting unfamiliar items
Search in News
Recent posts
How to Configure BitLocker in Windows Server 2025 August 11, 2025 How to Install VMware Workstation Pro on Windows – Step-by-Step Setup Guide (2025) Beginner’s Guide to the New Outlook for Mac (2025) Top 10 AI Tools Every Business Should Know in 2025 Top 5 Free PDF Editors in 2025 (Including a Hidden Gem You’ll Love)


Comments
Happy with us?